

Get Sticky With Figma: Fixed Header Inside Auto Layout
Create a fixed header inside your auto layout stack without having to create that extra frame around your designs.

A sticky header remains fixed to the top of the screen as the user scrolls down. This feature is almost table stakes now because it allows for easy navigation and access to important information, without the need for the user to constantly scroll back to the top of the page. This can lead to increased engagement and a better overall user experience.
Previously, creating a sticky header in Figma required a bit of a workaround and manual positioning. But thanks to Figma's Absolute Positioning feature, it is now possible to create a sticky header inside Auto Layout, making it even easier and faster to implement this design element.
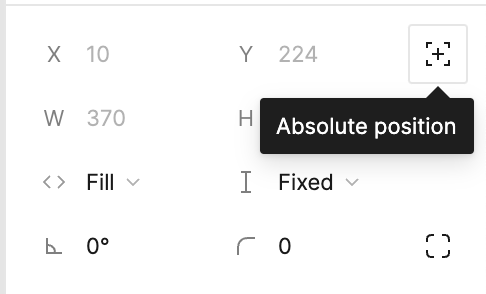
To create a sticky header in Figma with Auto Layout, simply select the header element and click on “Absolute Position“, then under “Constraints“ section, click the "Fix position when scrolling" option. This will allow the header to remain fixed at the top of the screen as the user scrolls down the page.

In addition to the benefits of a sticky header, using Auto Layout in Figma has its own advantages. Auto Layout allows you to easily create responsive designs that adjust to different screen sizes and device orientations. It also makes it easier to maintain consistency across multiple design elements, saving time and effort in the design process.
You can watch the full tutorial on this on my YouTube Channel, or click the image below.
